Online Tools Remove Background: Guide to Clean Cutouts
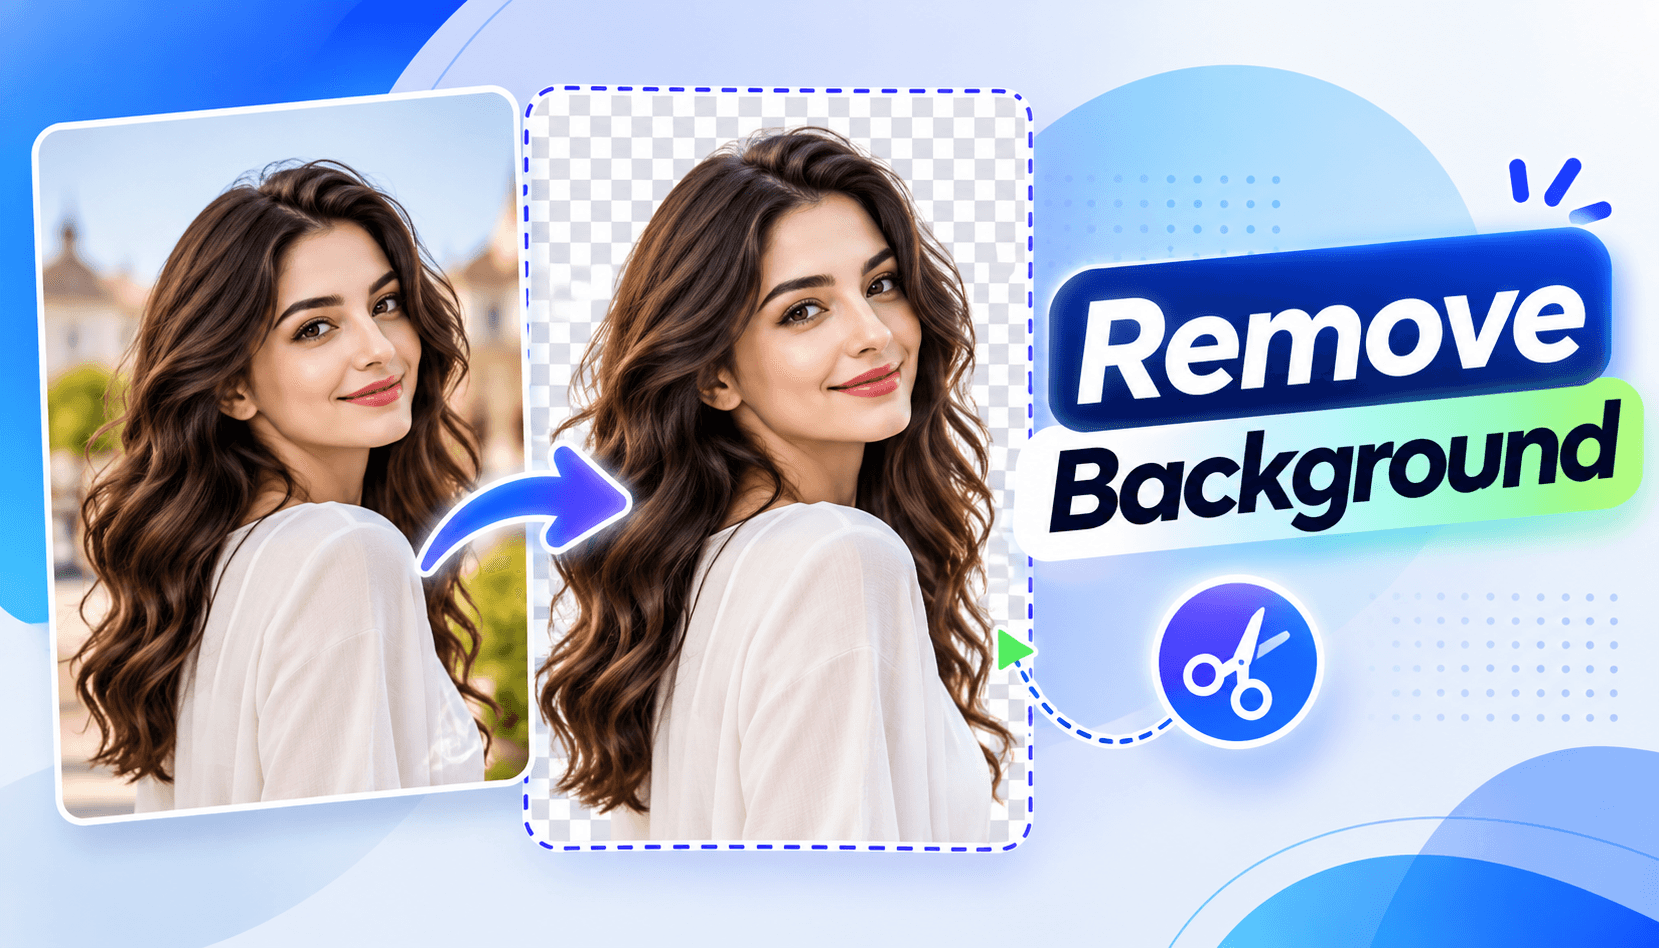
Searching for “online tools remove background” usually means you need a usable photo cutout without installing an editor. A clean result needs more than one click. You also need to check the outline and save the right file format.
To remove a photo background online, select your image, run background removal, inspect the edges, and download a transparent PNG. Then place the cutout on your intended backdrop to check the final appearance.
Start with the Tooldit Background Remover. This guide explains the workflow, common problems, and how to choose a suitable export.
Online Tools Remove Background: A Step-by-Step Guide
Background removal separates the subject from its surroundings. The cleared area can become transparent, allowing another color or image to show through.
Here is how to prepare a cutout for a product listing, portrait, or design.
1. Choose a Clear Source Photo
Start with the original image when available. Avoid using a screenshot of a small preview.
Look for:
A sharp subject.
Even lighting.
A visible outline.
Clear separation from the background.
Enough space around the subject.
For example, a navy backpack against a cream wall has a clear outline. The same backpack on a dark sofa is harder to separate.
Keep the full subject inside the frame. Background removal cannot recover a handle or sleeve that was never photographed.
2. Open the Background Remover
Open the background removal tool and select your photo through the file picker.
You can also drag the image into the selection area.
3. Run the Removal
Follow the on-screen prompt to remove the background. Wait for processing to finish before inspecting the result.
4. Correct Missing or Unwanted Areas
Tooldit’s documented editor includes Erase and Restore controls.
Erase removes leftover background. Restore brings back parts of the subject that were cut away.
Use small brush strokes around detailed areas.
5. Download and Inspect the PNG
Download the transparent PNG. Open it in the design where you plan to use it.
Check it against light and dark backgrounds before publishing.
Check the Cutout in Three Passes
Inspecting everything at once can make small errors easy to miss. Use three separate passes.
Pass One: Check the Shape
Compare the cutout with the original photo.
Look for missing corners, straps, fingers, ears, or product details. Make sure the overall shape remains accurate.
For a product photo, pay particular attention to handles and narrow gaps.
Pass Two: Check the Edges
Zoom in around the outline.
Look for a pale fringe, jagged sections, or leftover background patches. Fine hair and fur need special attention.
Then zoom out. An edge that looks tidy close up should also look natural at normal viewing size.
Pass Three: Check the Final Layout
Place the cutout on the actual background you will use.
A white border may disappear on a white page. It can become obvious on a navy banner.
Also check the final display size. A small cutout may look sharp until it is enlarged across a slide.
Transparent Background vs. White Background
These results are different.
A transparent background lets the design underneath show through. A white background contains solid white pixels.
Imagine placing a product photo on a blue slide:
A transparent cutout shows blue around the product.
A white-background image shows a white rectangle around it.
A checker board preview often represents transparency. However, check the downloaded file too.
Place the image over a colored shape in your editor. If the color shows through, the surrounding area is transparent.
Should You Save as PNG or JPG?
Choose PNG when you need transparency. JPEG does not support transparent areas. WebP can support transparency, depending on your workflow.
The MDN image format guide explains these format capabilities.
Intended use | Suitable approach |
|---|---|
Reuse the cutout on several backgrounds | Keep a transparent PNG |
Add a subject to a presentation | Insert the PNG |
Create a JPG for a specific upload form | Add a solid backdrop, then export JPG |
Prepare a web graphic | Use a format your website supports |
Renaming photo.jpg to photo.png does not create transparency. Changing the format alone also does not remove a background.
Keep your transparent master file. Export separate copies for different destinations.
Common Problems and Practical Fixes
A White Border Remains
A pale border can contain traces of the original backdrop.
Check the outline against a dark color. Remove unwanted pixels carefully without trimming the subject too far.
Remove.bg’s guidance on edge artifacts explains how background color can affect foreground edges.
Part of the Subject Is Missing
The automatic selection may confuse similar colors.
Compare the cutout with the original. Restore missing areas where editing controls allow it.
For extensive errors, try a clearer photo. Repeated corrections may take longer than starting with a better image.
The Result Looks Blurry
Check the source image first.
Background removal cannot restore detail missing from a blurry photo. Enlarging a small image can also make softness more visible.
Use the Tooldit Image Editor to prepare dimensions for your intended layout. Keep the original file separately.
Glass or Fine Hair Looks Unnatural
These subjects can contain partially transparent areas.
Glass may show the old background through the object. Fine hair can blend into nearby colors.
Use careful manual editing when needed. For difficult product shots, photographing against the final backdrop may work better.
Too Much Empty Space Surrounds the Subject
Remove unnecessary space with the Image Cropper.
Leave enough room around the outline. A tight crop can make the product feel cramped or cut off details.
Example: Prepare a Backpack Photo for Your Store
Suppose you photographed a backpack on a kitchen table.
First, choose the sharpest photo. Keep the straps and handle fully visible.
Remove the background, then inspect three areas:
The gap beneath the handle.
The thin shoulder straps.
The bottom edge against the table.
Place the cutout on your store’s chosen backdrop. Check that the product still looks accurate.
Save the transparent PNG as your master. Create another copy with a solid background if your destination requires one.
This example illustrates the workflow. It is not a measured test result or an accuracy guarantee.
How to Choose an Online Background Remover
Judge a tool by the file you can actually use.
Check these points:
Does the export retain enough detail?
Can you correct the selection?
Is transparent export available?
Are download restrictions clearly explained?
Is image processing explained?
Does the tool work reliably on your device?
“Online” describes how you access a tool. It does not, by itself, explain where your photo is processed.
Read the service’s processing and privacy information before selecting sensitive images.
Frequently Asked Questions
Can I remove a background without Photoshop?
Yes. Browser-based tools can separate a subject from its background. Complex edges may still need manual work.
Does a PNG always have a transparent background?
No. PNG supports transparency, but a PNG file can still contain a solid background.
Can I put a white background behind the cutout?
Yes. Place the transparent image over a white canvas. Export the combined image in your required format.
Why does the cutout look different on another background?
A new backdrop can reveal edge errors hidden by the preview. Inspect the image against the intended final color.
Can I use the result in a product listing?
You can edit photos you have permission to use. Check the marketplace’s current requirements before publishing.
Finish With a Clean, Reusable Image
Start with a clear photo. Check the shape, inspect the edges, and preview the final layout.
Keep a transparent master file so you can reuse the subject in future designs.
Read also: How to Convert PDF to PPT Without Losing Formatting: Free Guide